


DIY Bride: Paper Goods
DIY Bride: Paper Goods
Helping you cut cost and time.


I initially wanted to outsource our wedding paper goods, but when I received quotes from the designers I admired, I realized it was a luxury we couldn’t afford. So, I had to admire from afar.
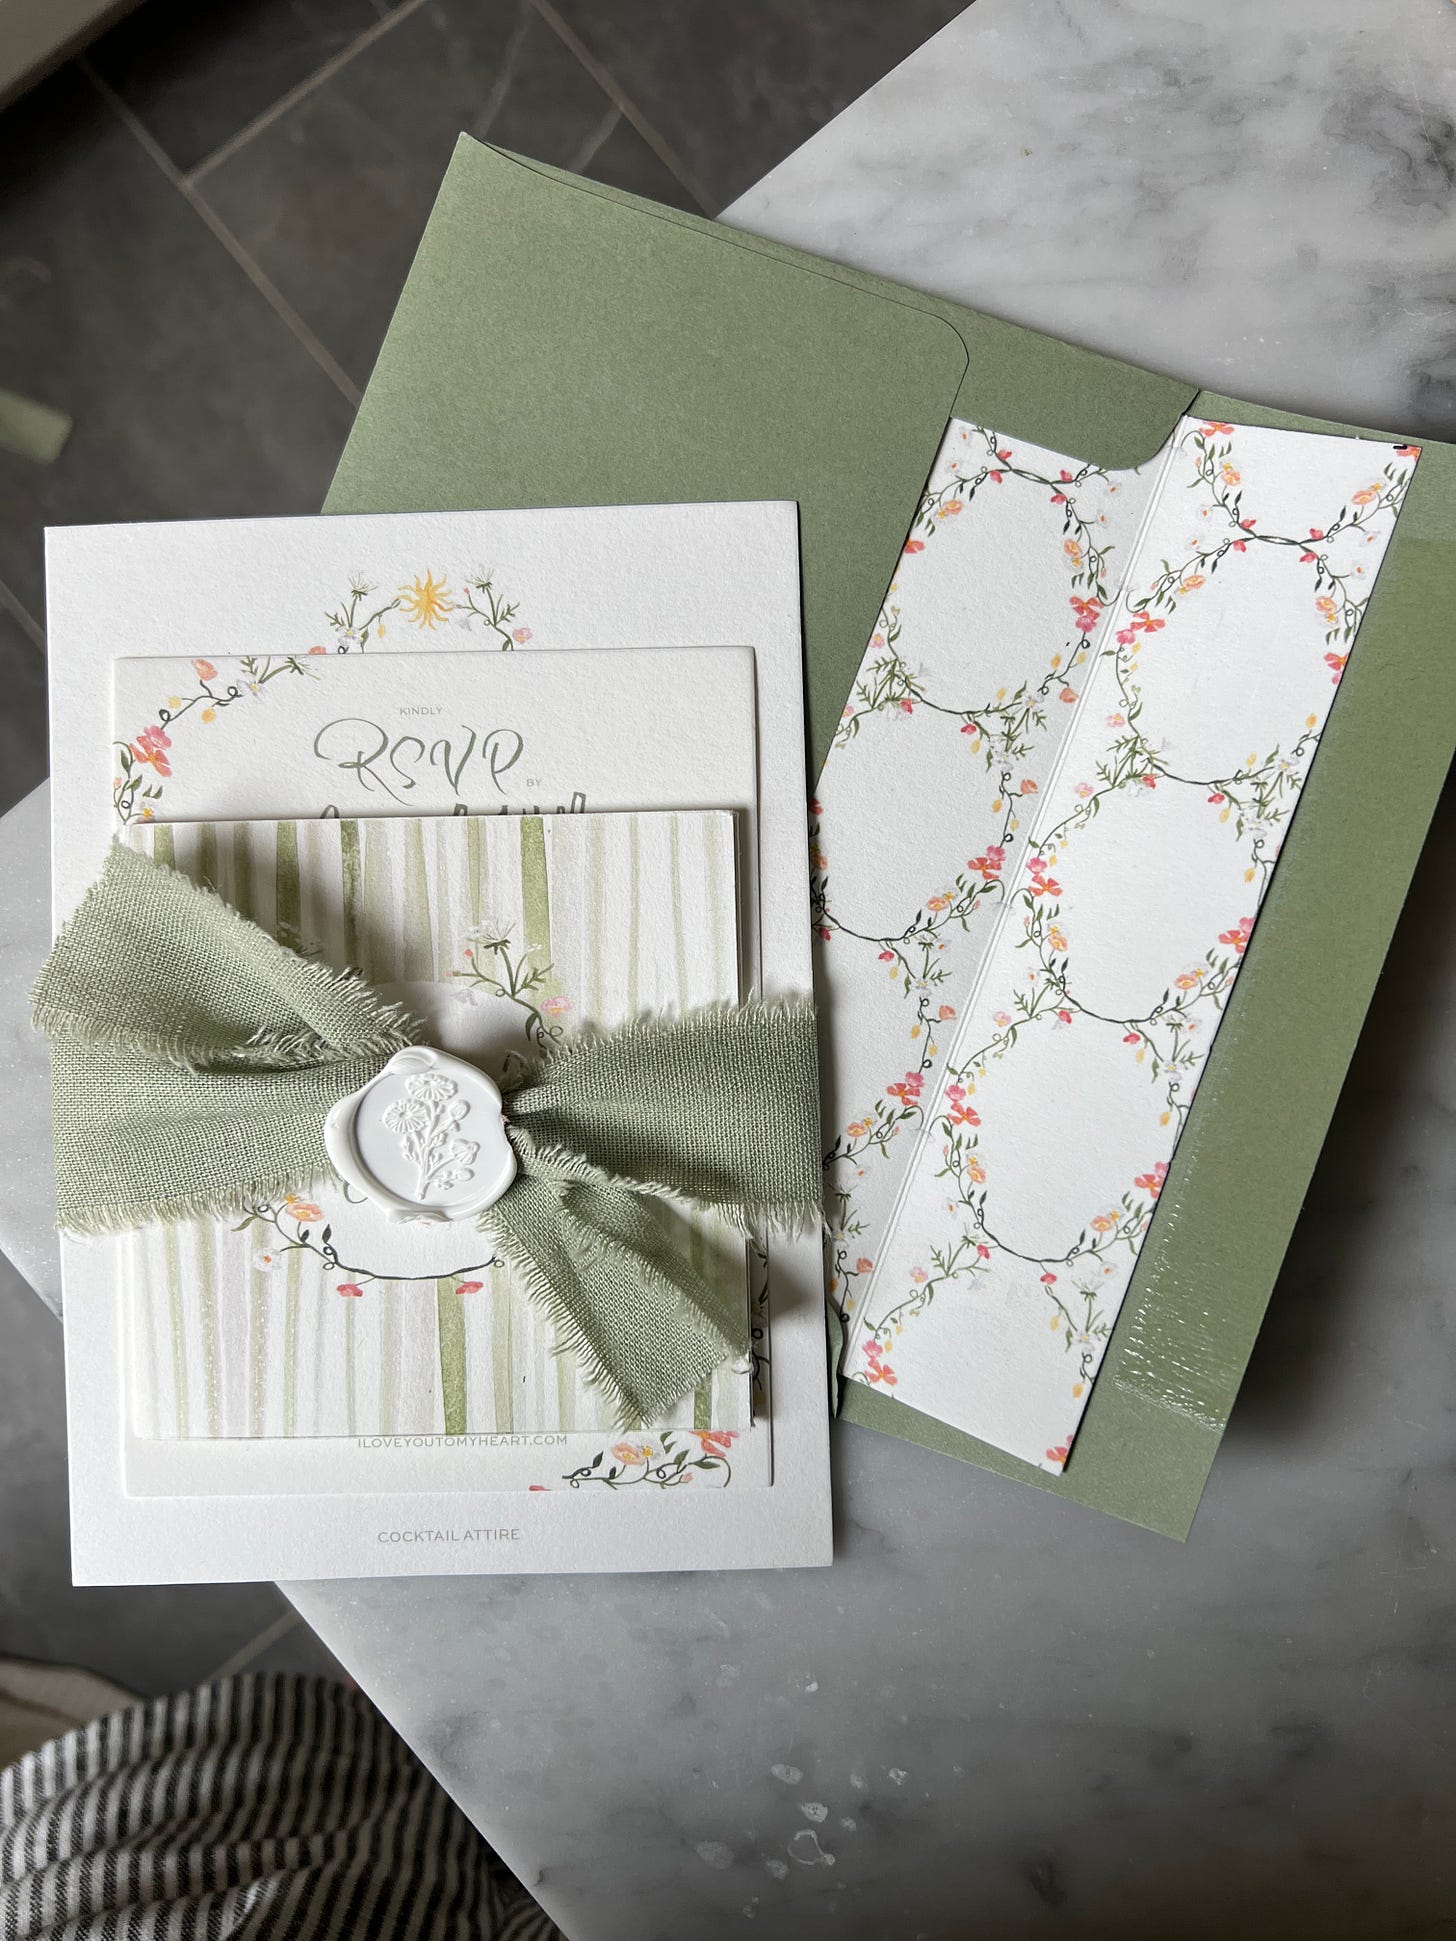
However, I still wanted the look of a luxury invitation suite at a fraction of the cost. So, instead of getting an entire suite, I hired someone to create a custom wedding crest, which I then used on all the paper goods and details to make everything feel elevated, special and cohesive.
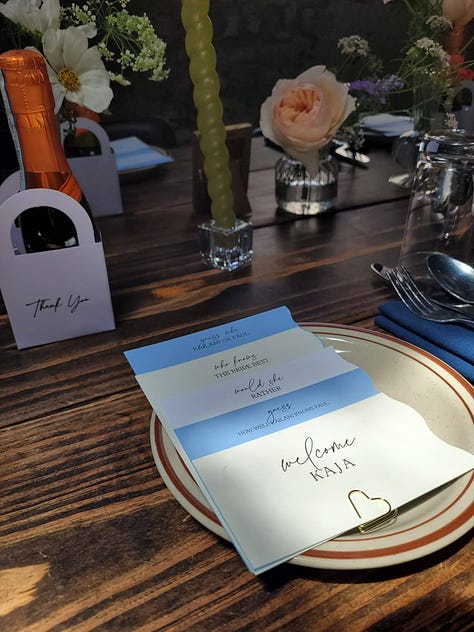
I found a watercolor stripe png on Esty which I used for the weekend events trifold. Had a friend (who is very talented) hand letter certain words that we used throughout the invitation suite & on other paper goods/signs. Extracted the crest to create a pattern we used as an envelope liner. Embossed the return address on all RSVP envelopes. Printed everything at our local printer. Finally, secured everything with a silk/linen ribbon…I couldn’t decide, so I did both for a while until I ultimately decided Silk looked best! Added the postage and waited for RSVP’s. Be sure to checkout out my RSVP tip at the bottom of this post.
After investing countless hours in sourcing papers, labels, and other materials, as well as designing and assembling everything, I now think outsourcing might have been worth it. But I'm here to share my tips and finds to save you the time I lost!


Luxury Paper: Cranes Letra or Strathmore (110lbor 120lb)
Ribbon: May Arts has a beautiful selection of natural silk ribbon. I purchased both 1inch and 2inch.
Embosser: A custom embosser added to the luxe feel and is still being used months after the wedding. We purchased two plates. First plate, our wedding crest and address and the second plate was just our wedding crest. We used the return address for all thank you notes and return RSVP envelopes and the wedding crest for labels, paper napkins and other random paper goods.
Envelopes: Spending $2-3 on custom handwritten envelopes wasn't in our budget. While they are gorgeous and something I would have loved to do, it just wasn’t feasible. I also wanted the Euro flap, but also had to let that vision go. So, I decided to order our envelopes through Minted. The Minted branding on the back annoyed me at first, but I got over it when I saw how much we saved while still maintaining our aesthetic. I also reminded myself that these envelopes will end up in the trash .5 seconds after it’s been opened. Tip: If you reach out to minted, they will help you so that the zip code falls on it’s own line!
Envelope Liner: This is so simple to achieve. You basically just print out a pattern on standard paper. Have the printing company cut the liner based on your envelope size and then score a line so its easy to insert and fold. We used these tape rollers to assemble. A time consuming project for a little detail, but makes a big impact, IMO.
Postage: Still trying to wrap my head around the atrocious selection of stamps we have today compared to back in the day. I would have loved to go the vintage stamp route, but cost was a factor. Instead, I opted for standard USPS stamps (we used these, not sure why they're so expensive on USPS now but cheaper here) and a cool George Morrison stamp. Tip: Check your local post office frequently. If USPS has a stamp you love, buy it in bulk at Costco! I wish we had bought more than we did given their current prices. This shop also has an awesome variety.
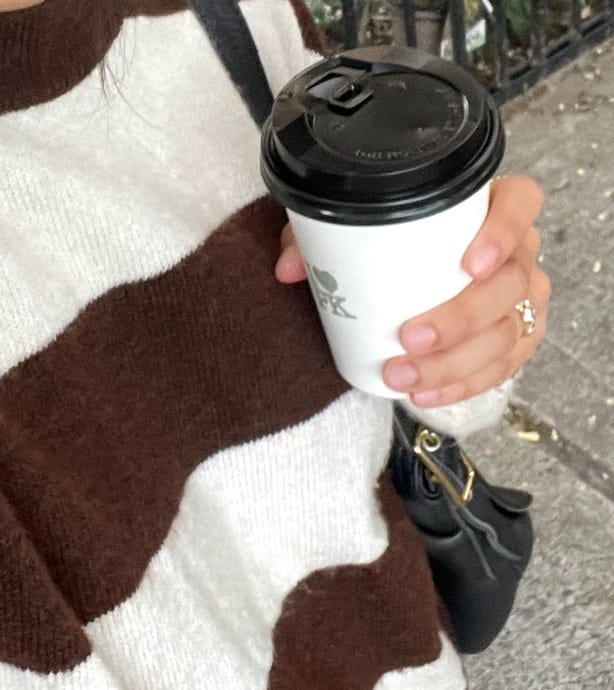
Custom Rubber Stamp: We purchased a custom I 🤍 PK rubber stamp for our to-go coffee cups and ended up using it on several other items. I actually still use it, I use tape to cover the “I” and stamp it on brown gift wrapping paper or gift bags as a little sign off “🤍 PK”.
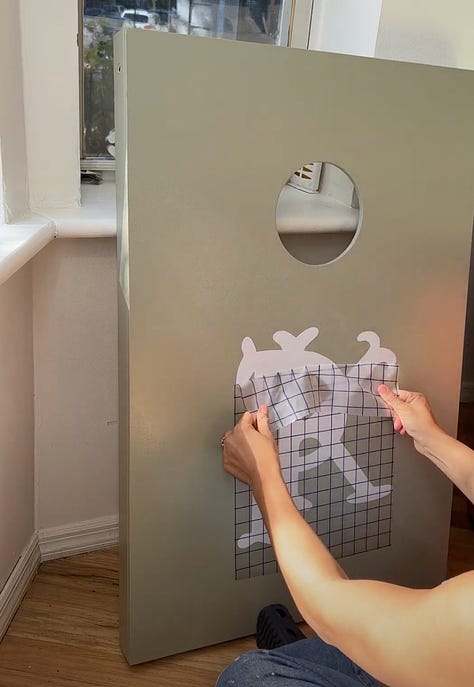
Cricut: This is a must buy for the DIY bride. I used it for soooo many things throughout the wedding process. I hand addressed my bridal shower invites and thank you cards in fancy script, made extra-large DIY stickers for our corn-hole boards, cut out gift tags, made stickers for the groomsmen gift bags and much much more! It was definitely worth the investment. Added bonus, I use it all the time post wedding.


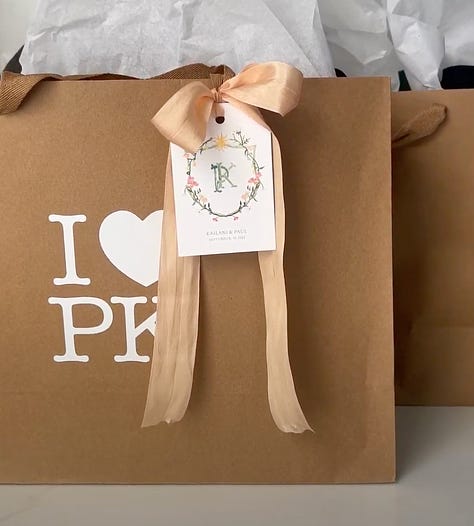
Cricut Projects Brown Paper Bags: Purchased a large pack of these on Amazon & added the “I 🤍 PK” sticker to make them feel personalized.
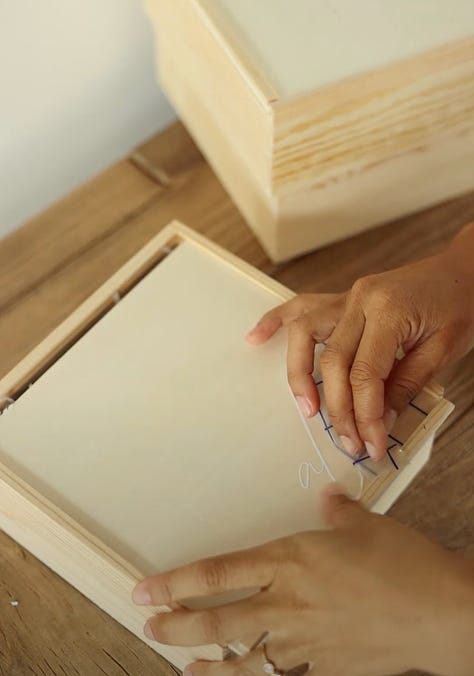
Matches: We had our custom match boxes made at For Your Party using the crest I had designed by Brogan Scott Studio.
Labels
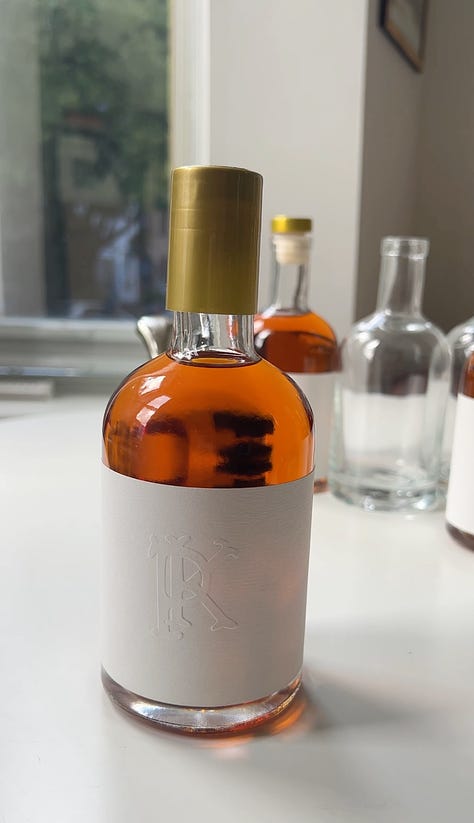
Whiskey Gift Bottles: I searched high and low for textured labels and finally found them on Avery. White Textured Labels (3x6 Rectangle). You can add a design, but I ordered blank sheets and used the embosser with our wedding crest to make them feel elevated and chic. (TikTok Video here)
Water Bottles: Purchased these labels on Amazon. They provide a template which made it super easy to design and print using a regular printer. Custom labels for our water bottles was a small detail that made a big impact.
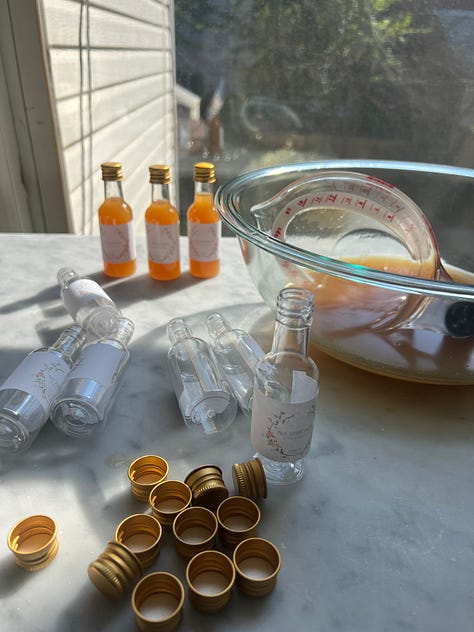
Gift Liquor Bottles: Nalewka is a specialty drink in Poland, and with my husband being 100% Polish, we wanted to add a touch of his heritage to our celebration. My mother-in-law made several large batches of this traditional liquor, and we decided to gift it in charming small shot glass bottles with custom labels that said “Na Zdrowie” which translates to cheers in polish!
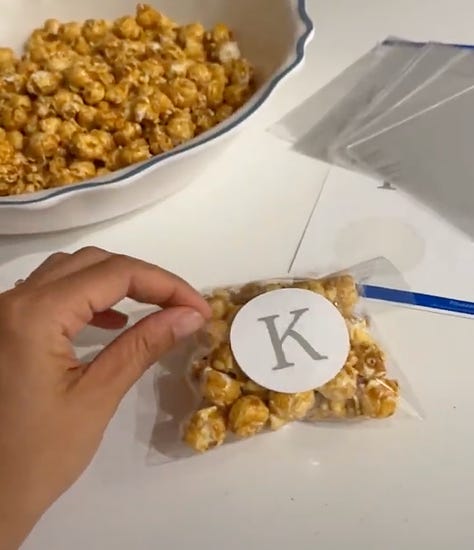
Snack bag label: We put together snack bags of our favorite late night snacks and added them to the bridal party gift bags. I used caramel popcorn and Paul did dark chocolate pb cups.


RSVP Card Tip:
I found this tip on TikTok and didn't think it would happen to us, but we received seven blank RSVP cards. SEVEN! So, it happens.
Basically, you buy a little black light pen on Amazon, which keeps the aesthetic but helps you to maintain your sanity! Many people use a corresponding number, but I just wrote the last name on the back of the card, which made it easier and faster.
Now that I've shared all this information in one post, I hope the roundup helps! If you have any questions or need more details, feel free to drop a comment. I'm here to help and would love to hear your thoughts and experiences too.